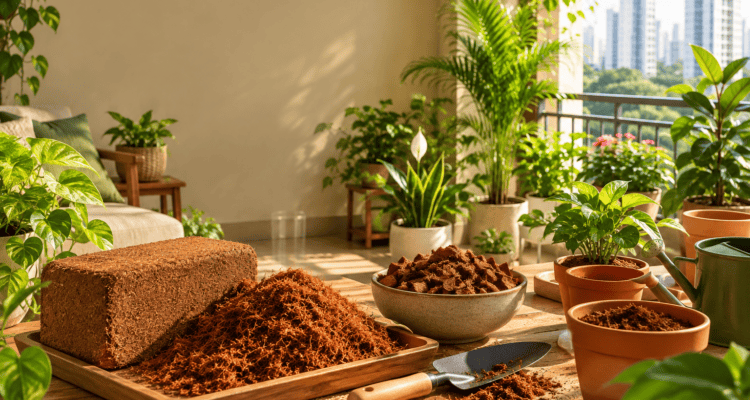
Hi, this is Akhilesh from Farmer In Mumbai. Today we talk about cocopeat. How to use cocopeat for plants ? If you grow plants in pots, on a balcony, or on a terrace, you have likely seen this brown, fluffy stuff in a garden shop. It looks like soil, but it is not soil. Let’s understand it in very simple words, step by step, DIY style. No hard English. No confusing terms.
By the end of this guide, you will know:
- What cocopeat is
- Why it is good for your plants
- How to use it the right way
- How to make cocopeat at home from waste material
- Do people outside India, like in the USA, also use cocopeat
- Which tools and products can make this job easy
Let’s start from zero.
What Is Cocopeat?
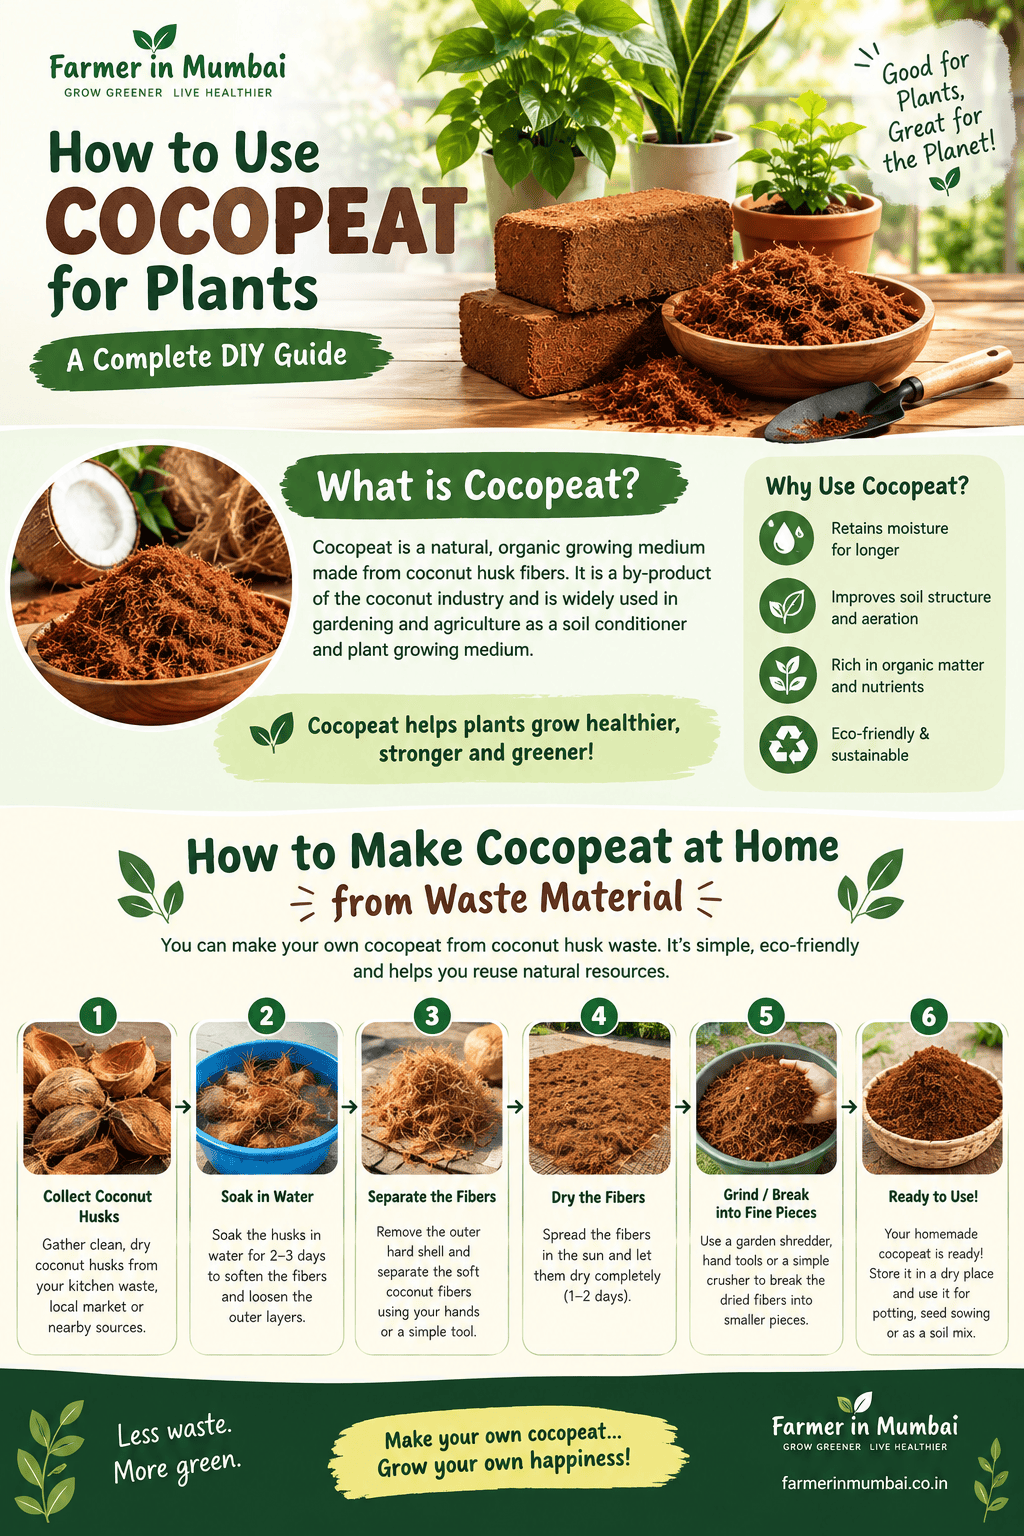
Cocopeat comes from coconut. When we remove the outer husk of a coconut, there is a fibre layer under it. This fibre is called coco coir. When this coir is crushed into small soft particles, it becomes cocopeat.
So in short:
Coconut husk → Coir fibre → Crushed into powder form → Cocopeat
It looks light brown. It feels soft and spongy. When you add water to it, it swells up like a sponge. This is why it holds water so well.
Most gardeners buy it as a dry, pressed block. One small block can expand into a big bag full of cocopeat after soaking in water. If you want a trusted, pre-washed option that expands well, you can check this Ugaoo Cocopeat Block Growing Medium. It works for normal potting and also for hydroponics.
Why Do Gardeners Use Cocopeat?
Here is why cocopeat has become so popular, in plain words:
- It holds water well. Your plant does not dry out too fast, even in hot Mumbai weather.
- It has good air space. Roots need air too, not just water. Cocopeat keeps small air pockets in the soil.
- It is light in weight. Great for terrace and balcony gardens where heavy soil is a problem.
- It is eco-friendly. It comes from coconut waste, so it reduces farm and food waste.
- It does not rot fast. Unlike normal soil, it does not turn hard or compact quickly.
- It is safe for seed starting. Very soft texture, so tiny roots can push through easily.
- It has almost no smell and no pests. Good for indoor use, unlike some manures.
This is why cocopeat is now used in home gardens, terrace farms, nurseries, and even big commercial poly-houses.
Things To Know Before You Use Cocopeat
Cocopeat is good, but it is not “complete soil”. Keep these simple points in mind:
- It has almost no nutrients. Cocopeat by itself cannot feed your plant. You must mix it with compost or fertiliser.
- It can have natural salt in it. Cheap or unwashed cocopeat sometimes has extra salt from the coconut processing. Always buy a “pre-washed” or “low EC” block, or rinse it well before using.
- It should never be used 100% alone for outdoor soil beds. It works best as a mix, not as a full replacement for soil.
Now let’s get into the real DIY part.
Step-By-Step: How To Use A Cocopeat Block
This is the simplest way to prepare cocopeat at home from a dry block.
Step 1: Take the dry block — One block looks small and hard, like a brick. Don’t worry, it will grow a lot in size.
Step 2: Place it in a big tub or bucket — Use a wide container. The block will expand almost 5 to 7 times its size.
Step 3: Add water slowly — Pour normal tap water, a little at a time. Use a simple Multipurpose Hand Water Sprayer if you want more control, or just pour with a mug.
Step 4: Wait and break it apart — Within 15 to 30 minutes, the block will soften. Use your hands or a small trowel to break it into loose, fluffy cocopeat.
Step 5: Drain extra water — Squeeze out extra water gently. It should feel moist, like a damp sponge, not soggy.
Step 6: Mix with compost — Cocopeat alone has no food value. Mix it with good compost like this Organic Vermicompost for Home Garden to make it plant-ready.
That’s it. Your cocopeat is now ready to use.
Best Mixing Ratio For Cocopeat
People often ask, “how much cocopeat should I add?” Here is a simple table you can follow, no need to measure with fancy tools.
| Purpose | Cocopeat | Compost/Vermicompost | Garden Soil | Perlite |
| Seed starting / germination | 70% | 20% | — | 10% |
| Potting mix for indoor plants | 40% | 30% | 20% | 10% |
| Vegetable grow bags | 40% | 40% | 20% | — |
| Hydroponics | 90–100% | — | — | 10% (drainage) |
For the compost part, you can use Ugaoo Organic Vermicompost or a ready mix like TrustBasket Organic Potting Soil Fertilizer Mix. For the “airy” part, Perlite Growing Medium helps a lot, especially for pots that don’t drain fast.
If you are filling grow bags for tomato, chilli or okra, a sturdy UV Protected HDPE Grow Bag works great with this cocopeat mix, especially on a hot terrace.
Feeding Your Plants After Using Cocopeat
Since cocopeat has very little nutrition on its own, you should feed your plants regularly. Some simple, beginner-friendly options:
- Bone Meal Fertilizer — good for roots and flowers
- NPK All Purpose Water Soluble Fertilizer — balanced growth booster
- Seaweed Liquid Fertilizer — gentle, natural growth tonic
- Organic Liquid Biofertilizer — easy to mix in water
- Epsom Salt for Plants — fixes yellow leaves caused by magnesium shortage
- Neem Cake Powder — feeds soil and also keeps pests away
A simple routine: feed once every 10 to 15 days, not every day. Too much feeding can harm roots.
How To Make Cocopeat At Home (DIY From Waste Material)
This is the part many people ask about. Can we skip the market and make cocopeat ourselves? Yes, partly, and it’s a great way to reuse waste. Here in Mumbai, after Ganesh Chaturthi, weddings, or regular home use, a lot of coconut husk goes into the dustbin. Let’s use it instead.
What you need (all waste/common items)
- Coconut husks (the fibre-covered outer shell, not just the hard shell)
- A bucket of water
- A hammer or heavy stone
- A sieve or old kitchen strainer
- Sunlight to dry
Steps
- Collect coconut husks — Save husks from home use, temple prasad coconuts, or your kitchen. Don’t throw them away.
- Soak them in water — Put the husks in a bucket full of water. Leave them for 15 to 20 days. This process is called “retting”. It softens the tough fibres.
- Change the water once or twice — This removes the natural salt and tannin (the brownish colour) from the husk. This step also lowers the chance of your homemade cocopeat harming plants later.
- Beat the husk — After soaking, take the husk out and beat it with a hammer or heavy stone. The outer fibre will separate from the soft pith inside. The soft pith part is what turns into cocopeat.
- Break it down further — Rub the soft pith between your hands or crush it lightly. It should turn crumbly and soft, similar to shop-bought cocopeat.
- Dry it in the sun — Spread it out on a plastic sheet or tray. Let it dry for 2 to 3 days until all moisture is gone.
- Sieve it — Pass it through a sieve to remove any leftover hard fibre bits. What remains is your homemade cocopeat.
- Store it in a dry bag or box — Keep it away from moisture until you are ready to use it.
This DIY method takes patience, about 3 weeks in total, but it is a nice weekend project, especially if you already grow coconuts or use a lot of them at home. For quicker results, or for a cleaner, ready-to-use option with less effort, a market block like the Ugaoo Cocopeat Block is more practical for daily gardening.
Do Gardeners In The USA And Other Countries Use Cocopeat Too?
Yes, they do, but they usually call it by a different name. Let’s clear this up simply.
In India, we say “cocopeat”. In the USA, UK, Canada, Australia, and most of Europe, gardeners call the same material “coco coir” or just “coir”. Same coconut fibre, same product, different name.
How is it used abroad?
- Hydroponics growers in the USA use coco coir a lot, since it drains well and holds enough moisture for soil-less growing systems. Many indoor and greenhouse hydroponic setups use pure coco coir blocks or coco coir mixed with perlite.
- Houseplant lovers in the USA and Europe mix coco coir into their potting soil instead of, or along with, peat moss. This is also becoming more common because coco coir is seen as a greener, renewable option compared to peat moss, which comes from slow-forming bogs.
- Commercial nurseries worldwide, including in the USA, Netherlands, Australia, and the Middle East, use coco coir blocks and coco coir grow bags for tomatoes, strawberries, and flowers, especially in poly-houses.
- Seed starting kits sold in US and European garden stores often come with small coco coir discs. You add water, and they puff up, just like our cocopeat blocks here.
So whether someone gardens in Mumbai, Mumbai suburbs, London, Los Angeles, or Sydney, the coconut fibre trick works the same way almost everywhere. Coconuts don’t grow in most of these countries, so a large part of the world’s coco coir supply actually comes from coconut-growing regions like India, Sri Lanka, and the Philippines and gets shipped out as compressed blocks.
Cocopeat For Hydroponics At Home
If you want to try growing without normal soil, cocopeat is a great starting point since it holds water and gives support to roots. A few extra items help here:
- A basic Digital TDS Meter to check the strength of your nutrient water
- A Submersible Water Pump if you are running a small circulating system
- Pure, well-washed cocopeat as your base medium
You don’t need to build a big setup. Even a simple bucket system with cocopeat can work for herbs like mint, coriander, or basil.
Tools That Make Cocopeat Gardening Easier
A few small tools go a long way when you regularly work with cocopeat and potting mixes:
- Kraft Seeds Plant Cutter for trimming and pruning
- Garden Spray Pump for regular watering without disturbing the soft cocopeat mix
- Sturdy Grow Bags to hold the mix on your terrace or balcony
Ready To Sow? Pick Your Seeds
Once your cocopeat mix is ready, it’s the right time to sow. A few easy options for home gardens:
- Vegetable Seeds Combo Pack – Tomato, Chilli, Brinjal, Okra
- Multi Variety Summer Flower Seeds Collection
Cocopeat’s soft texture is especially kind to small seeds, so germination rates are usually better than in heavy garden soil.
Common Mistakes To Avoid
- Using cocopeat alone, with no compost. Your plant will slowly starve.
- Not rinsing unwashed cocopeat. Extra salt can burn young roots.
- Cocopeat holds water very well, so you need less water than you think.
- Using very old, stored cocopeat without checking for mold smell. Always check before use, especially homemade batches.
Quick FAQs
Is cocopeat the same as coco coir? Yes. Coco coir is the fibre, and cocopeat is the crushed, powder form of that same fibre. In daily use, people often use both words for the same product.
Can I reuse old cocopeat? Yes, you can reuse it once or twice. Just refresh it with fresh compost each time, since old cocopeat loses structure over repeated cycles.
Is cocopeat good for all plants? It works for most indoor plants, vegetables, and flowering plants. For cactus and succulents, use a smaller amount, since they prefer drier, sandier mixes.
Do I need special tools to use cocopeat? No. A bucket, water, and your hands are enough for basic use. Tools like sprayers and TDS meters only help if you go into hydroponics.
Final Words
Cocopeat is one of the easiest, most beginner-friendly growing mediums out there, whether you live in a small Mumbai flat or a large farm. You can buy a ready block, or if you enjoy DIY projects, you can make your own from waste coconut husk over a few weeks. Either way, this humble coconut byproduct, called cocopeat here and coco coir abroad, is quietly helping gardeners grow food and greenery all over the world.
Happy gardening.
— Akhilesh, Farmer In Mumbai

Akhilesh Maurya
Administrator at Farmer In Mumbai
- 15 Best Microgreens To Grow At Home In Your Balcony : A DIY guide
- How to Start an Areca Leaf Plate Making Business in India (2026 Guide)
- 12 Indoor Vastu Plants for Home in Mumbai With Direction And Pot Guide
- 10 Private Terrace Garden Ideas For Mumbai, Navi Mumbai And Thane Residents With Rules And Regulations
- How to Make Self Watering Pots at Home : 3 Easy DIY Methods
- Balcony Garden Rules And Regulations In Mumbai Housing Societies
- Compost Bin For Kitchen Waste And Garden : A DIY Guide to Make, Buy and Use It
- Laid Off or Burned Out? 6 Small Garden Business Ideas You Can Start For Under ₹15,000
- Get Pesticide Free Vegetables Near Me in Mumbai: How to Verify Before You Buy
- 7 DIY Methods To Get Rid Of Mealybugs On Plants Naturally
- 10 Plants For North Facing Balcony In Mumbai, Thane And Navi Mumbai High Rise Buildings
- Best Soil Mix for Indoor Plants in Mumbai: A Plant-by-Plant Guide