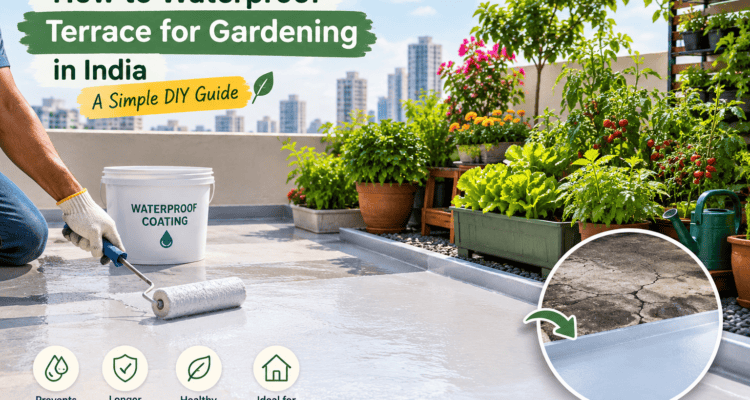
How to waterproof terrace for gardening ? You want a terrace garden. But you are also scared of one thing — water seeping into the slab and leaking into the flat below. In Mumbai, Navi Mumbai and Thane, this fear is very real. One drop of water on your neighbour’s ceiling and you get a call from the society office the same day.
The good news? You do not need to break your terrace or hire an expensive contractor to garden safely. With a few simple steps and materials easily found at any local hardware shop or online, you can waterproof your terrace and keep both your plants and your society happy.
This guide is written in simple language. No heavy technical words. Just steps you can actually follow this weekend.
Why Terrace Waterproofing Matters More In Mumbai, Navi Mumbai And Thane
Three reasons make this region different from other parts of India:
- Heavy monsoon. Mumbai gets very high rainfall for four months. If your terrace is not ready, water will find a way in.
- Old buildings with old slabs. Many housing societies have RCC slabs that are 15, 20, even 30 years old. Small cracks are common.
- Society politics. One water leak complaint and your terrace garden dream can be shut down by the managing committee. Waterproofing is not just for your plants — it is also your proof to the society that you are a responsible resident.
If you also want to understand the society rules side of this before you start digging pots, read our post on private terrace garden ideas for Mumbai, Navi Mumbai and Thane residents with rules and regulations — it covers what most societies allow and what they don’t.
Step 1: Check Your Terrace Before You Start
Before buying anything, walk your terrace and check for these:
- Cracks in the flooring or near the parapet wall
- Old water stains on the ceiling of the flat below (ask the neighbour if you can)
- Blocked or slow drains
- Low spots where water collects after rain
Take photos. This becomes useful proof later if the society ever questions you.
Tip: Do this check on a rainy day if possible. You will see exactly where water collects and where it is slow to drain.
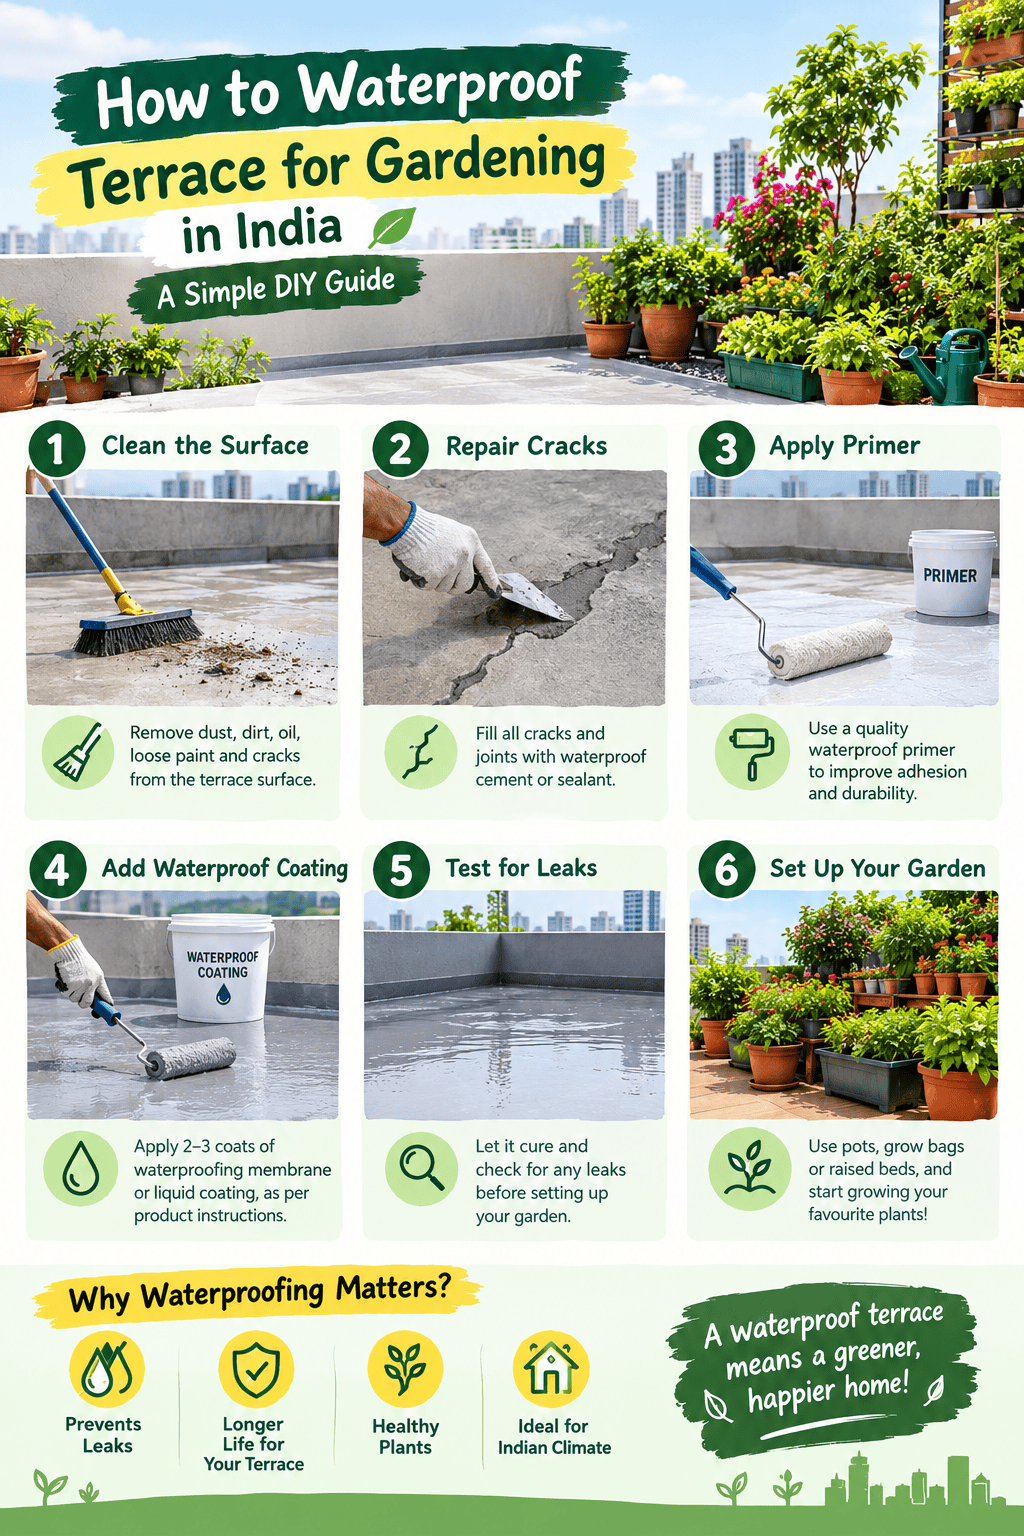
Step 2: Clean And Repair The Surface First
Waterproofing only works on a clean, crack-free surface. Skipping this step is the number one reason DIY waterproofing fails.
What to do:
- Sweep and wash the terrace floor. Remove all dust, moss and old paint flakes.
- Fill small cracks with a crack filler paste. A ready-to-use crack filler like Dr. Fixit 201 Crack X Paste works well for small cracks and needs no mixing.
- For gaps around pipes, drain outlets or parapet joints, use a waterproof silicone sealant with a caulking gun. This is a simple squeeze-and-apply job — no special skill needed.
Products that help:
- Fixit Applicator Gun + Silicone Sealant — sealant and gun in one pack, good for pipe joints and small gaps
- Caulking gun for silicone sealant tubes — if you already have sealant tubes and just need the gun
Step 3: Apply A Waterproof Coating On The Bare Terrace Area
This is the main waterproofing step. It is like painting your terrace with a rubber-like coat that stops water from soaking into the slab.
How to do it (DIY, no mixing machines needed):
- Choose a dry, sunny day. The surface must be fully dry before you start.
- Stir the waterproofing coating well.
- Apply the first coat with a paint roller or brush, moving in one direction.
- Let it dry fully (check the product label for time, usually 4 to 24 hours).
- Apply a second coat in the opposite direction (left to right, then top to bottom). This “criss-cross” method avoids gaps.
- For extra safety, add a third coat, especially near drain openings and parapet edges.
This kind of coating can handle people walking on it once dry, so it is safe under pots and planters too.
Products that help:
- Fixit New Coat White – Terrace Waterproofing Coating — no dilution needed, made to handle foot traffic
- Fixit Roofseal Classic New — also reduces heat on the terrace, useful for Mumbai’s hot months
- Fixit Pidifin 2K Cementitious Coating — a stronger option if your terrace has old cracks or past leakage history
Note: If your terrace already has visible water damage in the flat below, this is a bigger job. In that case, it is safer to also involve a waterproofing contractor along with your DIY effort, or at least inform your society before starting.
Step 4: Never Place Pots Directly On The Waterproofed Floor
This is the mistake most people make. Even after waterproofing, keeping wet pots directly on the floor for months can slowly wear down the coating.
Simple fix — raise your pots:
- Use plastic or wooden crates as a base for grow bags and pots. This lifts them off the floor and lets air and water pass under.
- Use a geotextile fabric sheet under your pots as a base layer. It lets water pass through but stops soil and roots from touching the waterproofed floor directly.
Products that help:
- Geotextile Fabric/Geofabric 150 GSM, 100 Sq Ft — a large roll that can be cut to size, good for lining terrace zones or lining raised beds
- Terrace drain cell mats — plastic mats with small gaps built in, so water flows away instead of sitting under the pots. These are the same kind of mats used in bigger terrace garden projects.
Step 5: Fix Your Drainage — This Is As Important As Waterproofing
A waterproofed terrace with no proper drainage still causes waterlogging in monsoon, which annoys neighbours and creates mosquito breeding — another common society complaint.
Simple DIY steps:
- Check your terrace has a slight slope towards the drain outlet. Most buildings already have this from construction.
- Keep the drain outlet covered with a jaali (mesh) so leaves and soil do not block it.
- Never let excess water from pots collect in one spot. Group your pots near the drain, not far from it.
- Use saucers under pots that don’t have drain cell mats, and empty the saucers after each rain so water does not overflow.
We have written a full post with more drainage-specific fixes here: 7 Ways to Stop Waterlogging in Your Mumbai Terrace Garden – Terrace Waterproofing Mumbai.
Step 6: Keep Records — Your Best Tool Against Society Disputes
This is a Mumbai-specific tip that most gardening guides skip.
- Take before and after photos of your waterproofing work.
- Keep the bill or invoice of the waterproofing products you bought.
- If possible, inform your society secretary in writing (even a simple WhatsApp message) that you are waterproofing your terrace before starting a garden.
- If your terrace is a shared or common terrace, always get written permission from the managing committee first. Private terraces attached to your own flat usually need less approval, but check your society bylaws.
This small paperwork habit prevents most of the “who caused the leak” arguments that Mumbai societies are famous for.
Quick Shopping List
| Item | Use | Where to buy |
| Crack filler paste | Fix small cracks before coating | Amazon India |
| Silicone sealant + gun | Seal pipe joints and gaps | Amazon India |
| Waterproof terrace coating | Main waterproof layer | Amazon India |
| Geotextile fabric | Base layer under pots and beds | Amazon India |
| Drain cell mats | Raise pots, let water flow | Amazon India |
| Paint roller and brush set | Apply coating evenly | Any local hardware shop |
(Not all of these are on our shop yet — we are adding them soon. Until then, the Amazon links above will get you started.)
Final Word
Waterproofing your terrace is not a one-time job you forget after. Check it once a year, ideally before monsoon starts in May or June. A well-waterproofed, well-drained terrace means your garden grows freely and your society has nothing to complain about.
Once your terrace is ready, you can start planning what to grow. Our guides on Mumbai terrace garden ideas for small spaces and monsoon proof plants for Mumbai balconies are good next reads.
Browse our Fertilizers & Soil, Tools & Equipment, and Outdoor Plants collections once your terrace is ready for planting

Akhilesh Maurya
Administrator at Farmer In Mumbai
- 15 Best Microgreens To Grow At Home In Your Balcony : A DIY guide
- How to Start an Areca Leaf Plate Making Business in India (2026 Guide)
- 12 Indoor Vastu Plants for Home in Mumbai With Direction And Pot Guide
- 10 Private Terrace Garden Ideas For Mumbai, Navi Mumbai And Thane Residents With Rules And Regulations
- How to Make Self Watering Pots at Home : 3 Easy DIY Methods
- How To Use Cocopeat For Plants : A Complete DIY Guide
- Balcony Garden Rules And Regulations In Mumbai Housing Societies
- Compost Bin For Kitchen Waste And Garden : A DIY Guide to Make, Buy and Use It
- Laid Off or Burned Out? 6 Small Garden Business Ideas You Can Start For Under ₹15,000
- Get Pesticide Free Vegetables Near Me in Mumbai: How to Verify Before You Buy
- 7 DIY Methods To Get Rid Of Mealybugs On Plants Naturally
- 10 Plants For North Facing Balcony In Mumbai, Thane And Navi Mumbai High Rise Buildings